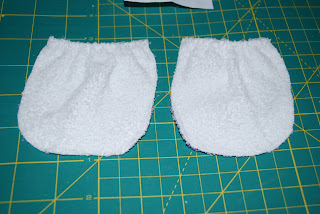
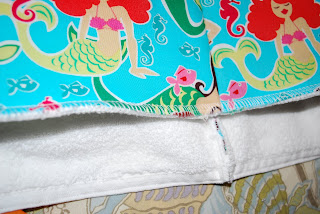
So...we are going from this
to this!
Materials: Rotary board, Rotary cutter, Ruler, disappearing ink pen, scissors, sewing machine, and thread
Optional: serger
First I cut the corners so that the cover would lay flat.
Then I folded the cover in half and cut down each side.
Then I unfolded it and cut down the middle so I had two pieces. I also cut two pieces for the straps (10x4.5), and two pockets. For the pockets make a template from paper measuring 3x3.5. Line the top of the pocket up with the elastic of one of the scrap pieces. Next trace around the template with a disappearing in pen. Now that all your pieces are cut you can get started sewing!
Straps Pocket Template
Put right sides together and pin down one side. Then sew. Finish off the edge with a serger. You can use a zig zag stitch if you do not have a serger.
Snip Corner
Next use your serger around the bottom of the cover up. Again use a zig zag stitch if you do not have a serger.
Next measure who you are making the cover up for. My GB measured 20 inches around her chest right under her arms. I made sure that the cover up fit her perfectly before sewing the other side. Put right sides back together, pin, sew down that side, and finish with seger/zig zag stitch. Snip the corner just like on the other side. Press the seams.
Now for the straps and the pockets. Fold the straps and press wrong sides together. Then use serger/zig zag stitch around each strap.
Next, serg/zig zag around pockets.
Pin straps and pockets to cover up. Find the center of the cover up and pin the straps about 2 inches from the center in the front. In the back pin straps about 1.5 inches from the center. If you want them a little closer move each strap in .5 inch.
Keep it white...
or Embellish
Either way your little GB will love it!
Changing Pad Cover to Cover-Up REMIX

I cut up the middle of the back so she could put it on without going over her head.
I used a gathering stitch and left a long string at the end to make gathering a bit easier, pulled the bottom thread to make the ruffle. Don't pull too hard. It may break and that is frustrating! Then you have to start over...so go slow.
Then lay the ruffle on top of the edge of the cover up so the raw edges line up, pin the ruffle and sew (sew above the gathering stitch). After you are finished sewing pull the gathering stitch out. Serge or Zig Zag stitch around the edge.
Next I chose a button, made a button hole, and sewed on the button.
If you don't want to do a button you could do velcro.
Sneak peak for the next tutorial...


5 comments:
This really just amazes me! I have no idea how you can do this!! My mom would love this, I am going to tell her to follow you too =)
How adorable! That wouldn't have even crossed my mind!
I have the same Potterybarn bedspread :)
What a fabulous idea!! Thanks for linking @Creative Itch's "Sew Cute Tuesday"!
Do you have a tutorial on Carson's ruffle dress? I love it and it's just what I'm looking to make for my lo!
Post a Comment