Showing posts with label boys. Show all posts

Monday, September 6, 2010

Twins

I have always been fascinated by twins. When I was younger, I wanted to be a twin. But since that was not going to happen...I did the next best thing and asked for twin cabbage patch dolls. I received them for Christmas and named Samantha and Amanda. I remember them vividly. They had long, red hair and freckles. As I grew older I thought I would want to have twins...for a while...until I had one baby. I can't imagine having two at the same time! However, many people do it and do it well. I know of a few!

There have been many sets of twins in my life just in the past couple years. I have a cousin who has twins. I haven't met them in person yet, but have watched them grow and change via the Internet! Technology is so nice!

I also have two sorority sisters/friends who have twins and another just announced she too will be having twins this spring! Twins are everywhere! And there are some really cute items out there just for twins!

Aren't these pink and blue owl hats adorable!? They would be perfect for a boy and girl twins! You can find them over at Unique Kidz.

And these I found over at Pink Crocodile Designs. I just loved them! I loved how one wasn't complete without the other.

I thought I would put my own little spin on the idea and made them Gator style. I have a friend who has twin boys that I thought would look adorable in these! Massie, they are in the mail!


I was also asked to make boy/girl twin gator outfits...Kristin, I can't wait to see them on Ross and Ivey!

You can't forget mom! I love necklaces that have children's names engraved on them. Here are two different styles especially for moms with twins...
One from Loved Stamped.

and one from Say Anything Jewelry.


Do you have twins? Or know of any cute items for twins?

Tuesday, August 3, 2010

Crawfish...Baby


I received a phone call from one of my good friend's mother the other day. She wanted me to make an outfit for her cousin's daughter's soon to be baby boy. There entire family is from Houma, LA. So, naturally she wanted me to make something with a crawfish. I told her, sadly, I did not have an embroidery design with a crawfish and my computer with the embroidery program is as old as dirt, in the garage and is very temperamental. The program isn't compatible with a MAC wouldn't you know. So we decided I would make her an outfit with a gator on it. Then I spoke to her again and again in her southern accent she asked, "Are you sure you can't get me a crawfish." Well, I don't like to disappoint anyone and knew she had her heart set on a crawfish.

I pulled the computer out of it's burial plot in my garage and set it up. What do you know...it doesn't work. I tried a few times and it still would NOT boot up. After several tries I was about to throw in the towel. Then I remembered my husband having to take out the battery and put it back in, so I tried it...didn't work. I was going try one more thing...If any of you ever had a Nintendo as a kid this will bring back memories....I took out the battery blew in it and put it back...AMAZING! It worked! I found this adorable crawfish machine embroidery applique at Applique for Kids and got to work!

I made baby Aiden a personalized crawfish onesie, matching shorts, burp cloth and bib. I hope baby Aiden enjoys his gift! XOXO

Monday, April 5, 2010

Wet Bathing Suit Bag with Download: A Tutorial


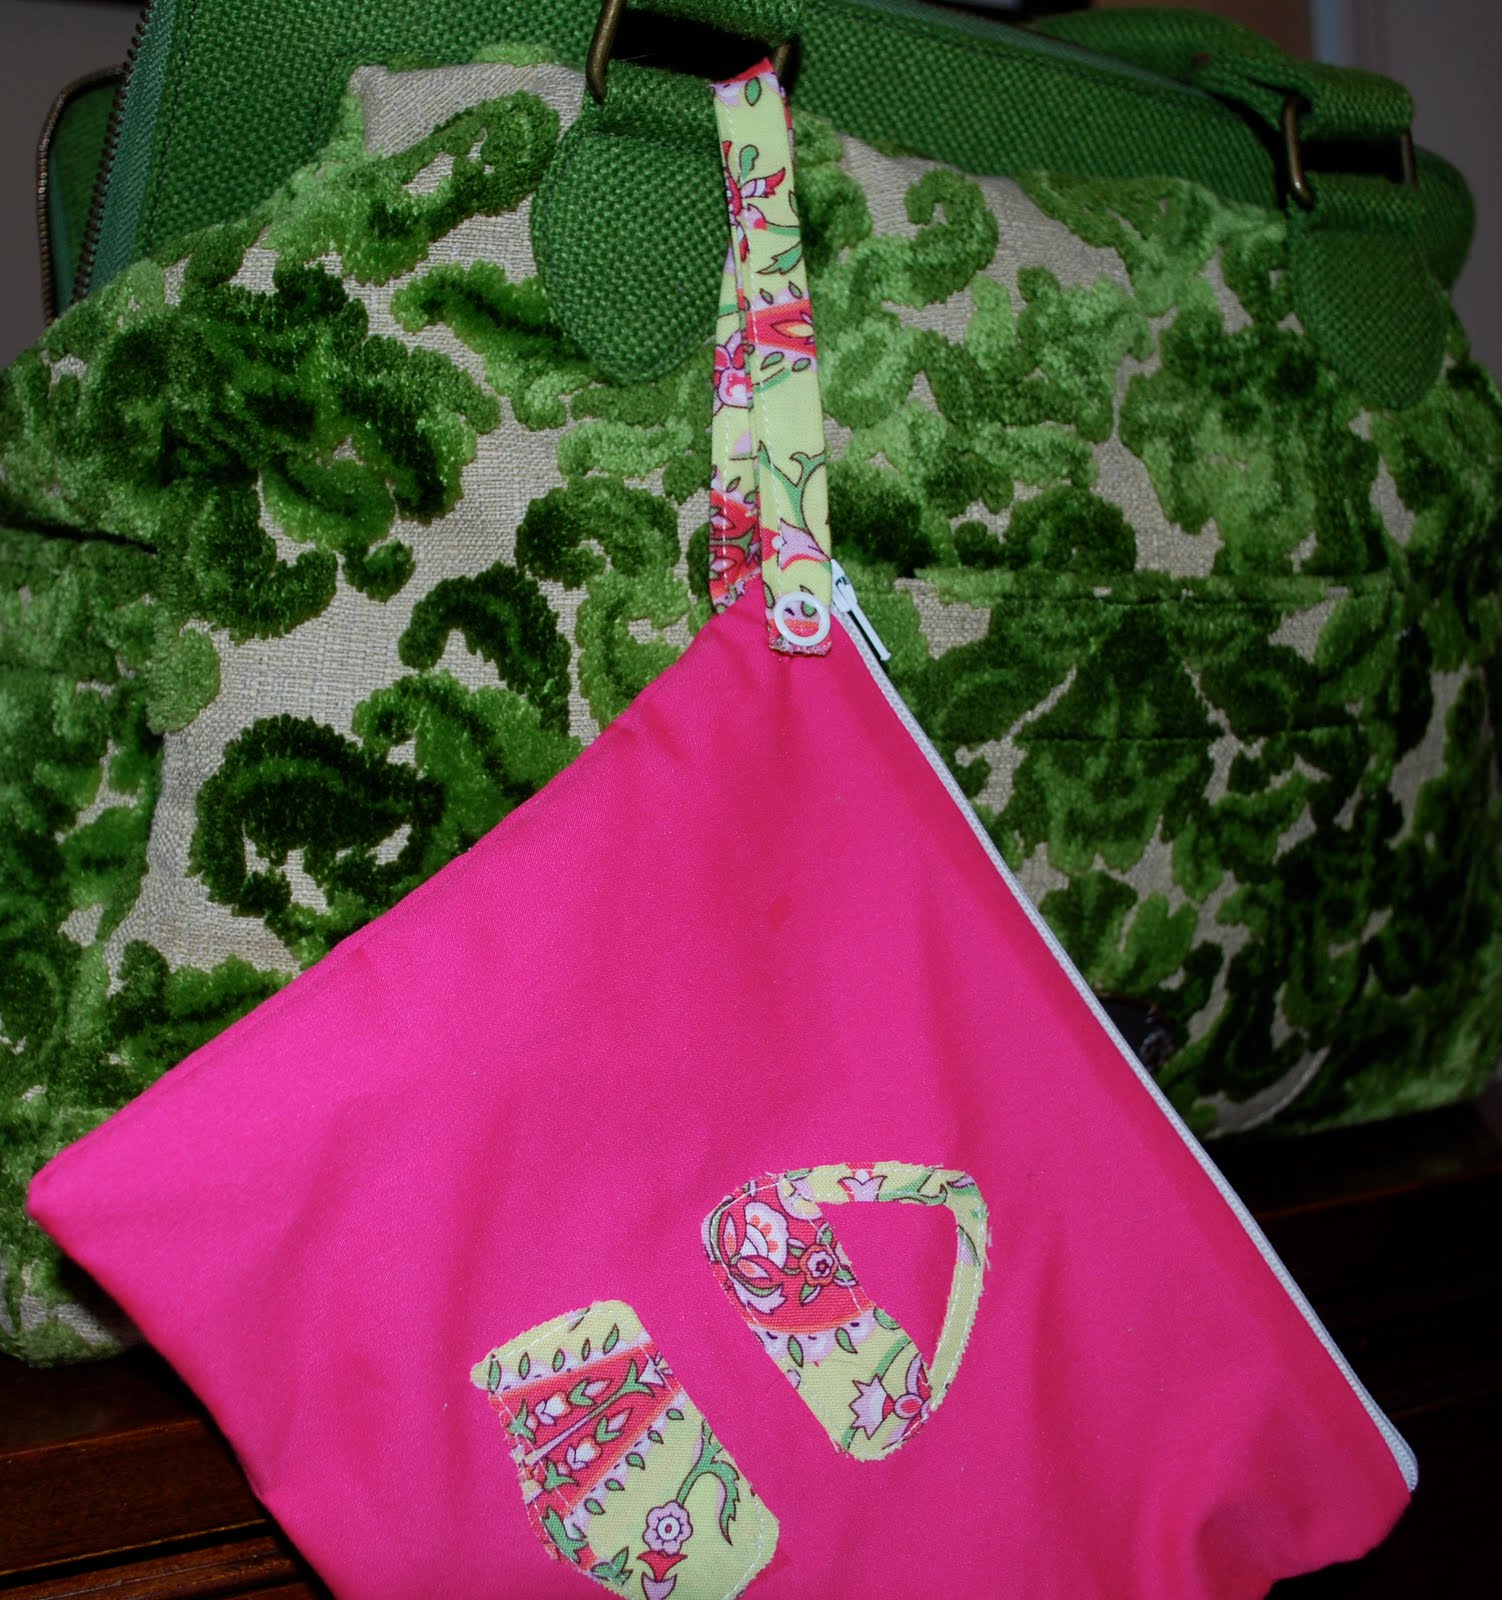
Warm weather is here and so is bathing suit season! So...these wet bathing suit bags are a must have to keep your dry duds from getting wet! Four years ago I gave my bridesmaids one similar to these as part of their gifts for being in our wedding. They recently popped back into my head after Carson started taking swim lessons a few weeks ago. It sure would be nice to have a little waterproof bag in which to contain a soaking wet suit. I made a few different ones. Ones for boys and ones for girls. You can make it and make it your own!

Materials: Nylon waterproof fabric, a fabric of your choice OR you can use Amy Butler's laminate fabric (it's machine washable!), 9 inch zipper, thread, sewing machine, rotary board, ruler and cutter

Optional: heat and bond adhesive, swim suit template, disappearing ink pen, iron, fabric paint, paint brush, freezer paper

- cut 4 pieces 10 x 8 inches (2 waterproof fabric, 2 fabric of choice)

-If you choose to put a swim suit on your bag you are going to do it now.
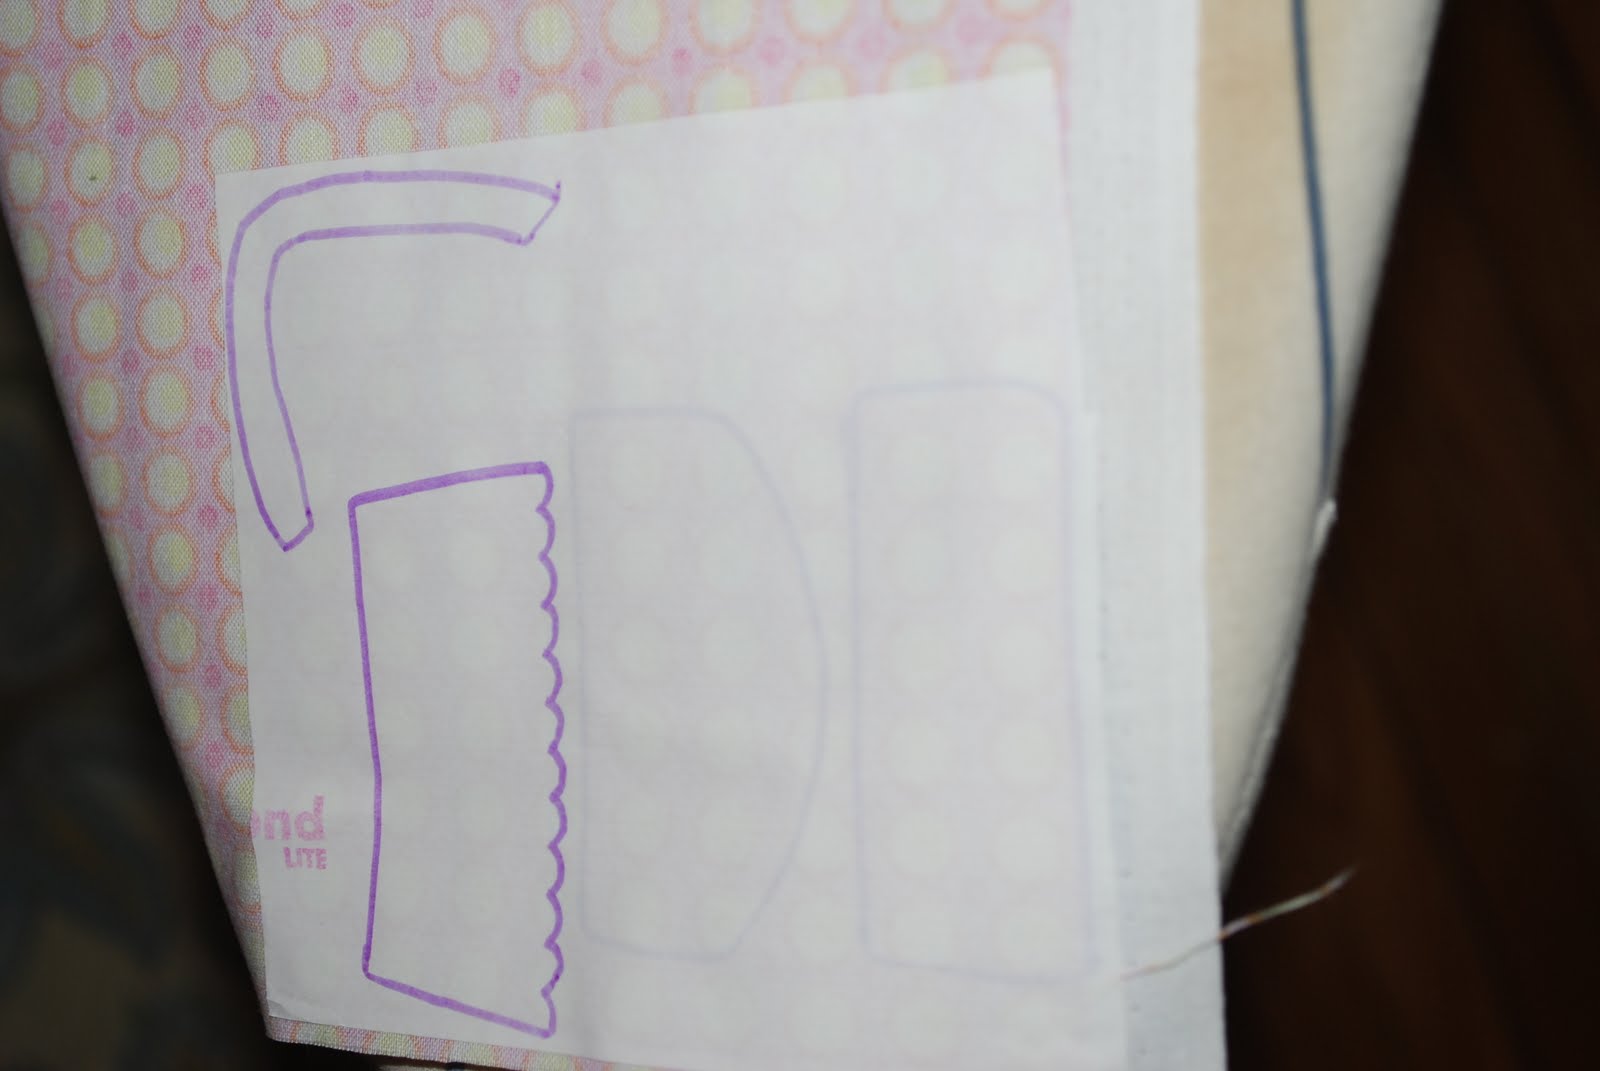
-follow directions on the heat and bond to adhere it to your fabric of choice. I chose a yellow polka-dot fabric...yellow polka-dot bikini!

-trace the swim suit on the back of the heat and bond with the disappearing ink pen.

-cut it out, peel off the back and place it onto the fabric where you want it.

-iron

-If you want to do letter applique (good tutorial HERE) or freezer paper stenciling (good tutorial HERE) to personalize your bag you will do that now too. I waited until after to do the stenciling. It would be easier to do it at this point.

- If you chose to do applique stitch into place.

-You a can use fray check around the edges to minimize fraying.

-Next, you will take one piece of the water proof fabric and one piece of the fabric of your choice. Get your zipper ready. You may want to use a zipper foot at this time. You are going to sandwich the zipper between the two pieces of fabric. Place your fabric of choice right side up, then the zipper face down then the waterproof fabric and sew.

-You are going to do the same thing with the other two pieces on the other side of the zipper.

-Press the seams.

-Now for the wrist strap...Cut a strip of fabric 2 x 8 inches. Fold it in half and iron. Then open it up and fold each side into the middle and iron. Now fold in half again and iron.

-Sew down the side to close it up.
-Fold the wrist strap in half and place it inside the bag underneath the zipper, raw edges facing out.

-Serge or stitch around the outer edge of the bag to close it up. If you stitch it you can finish it with a zig zag stitch.

-Turn the bag inside right side out!

Finished! Use an object to poke the corners out. I used my scissors, but that's probably not the best thing to use:)

SIDE NOTE
On the laminate bag I still used the Heat and Bond on the polka dot fabric, but I did NOT iron it onto the laminate. I thought it would make it a bit heavier and easier to stitch onto the bag. I used a few pins to hold it in place and it was easy to sew onto the bag. I have never tried to iron it, but the ladies that work at the store where I get my fabric said you CANNOT iron it.

Another Option!
Add a snap...instead of sewing both sides of the strap into the bag just sew one side. Then add a snap to the bag and strap. I'm less likely to loose the swim suit bag this way:)

Friday, March 19, 2010

Seersucker for Spring and Summer


Nothing spells spring and summer like seersucker! I recently made this gator seersucker John John for a customer and became excited about the warmer days lurking around the corner! This lightweight cotton fabric is perfect for those long summer days on the beach or running through the sprinklers.


I can't get enough seersucker! Also available: Whale Seersucker embroidered John John

Saturday, March 6, 2010

Another Birthday Party!

I think every weekend in March consists of either a birthday party or baby shower! Today is our good friend Taylor's 3rd birthday! Carson and Taylor have been hanging out since they were 4 months old. Carson adores him and wants to do everything Taylor does. Her recent obsession is with Spider-Man because Taylor loves Spider-Man. So for a gift nothing seemed more fitting than a Spider-Man drawstring back pack (Yea! I can cross it off my can't wait to try list) and a pair of P.J.'s!

The back pack is a little different than the one in the tutorial. I used jeans and a 12 in. zipper instead of an 8in. because that's what I had on hand.

I bought the Spider-Man fabric from JoAnn's. I used freezer paper stenciling(great tutorial here) for Spider-Man's face and the spider on the back. I used a picture from the computer to help me draw Spider-Man's face on freezer paper and the spider.

I put a "T" in the middle of the spider for Taylor!


The P.J. pants were adapted from this pattern. I like to call them karate pants when I make them for boys:) The shirt was embellished using a piece of the fabric and embroidery for the "I Am Peter Parker."


Enjoy Taylor...We love you!
Related Posts with Thumbnails