Showing posts with label kids. Show all posts

Tuesday, October 26, 2010

Pumpkin Fun for Kids

Carson loves file folder games. I had a few from when I taught kindergarten and she plays with them all the time. So I thought I would make her some pumpkin games and poem plays. We made a counting game using these pumpkins. I took the pumpkin and saved it to my photo library. Then I uploaded them to Picnik and added numbers to them. I printed them out and saved them! You can download the pumpkin numbers for the games Here.

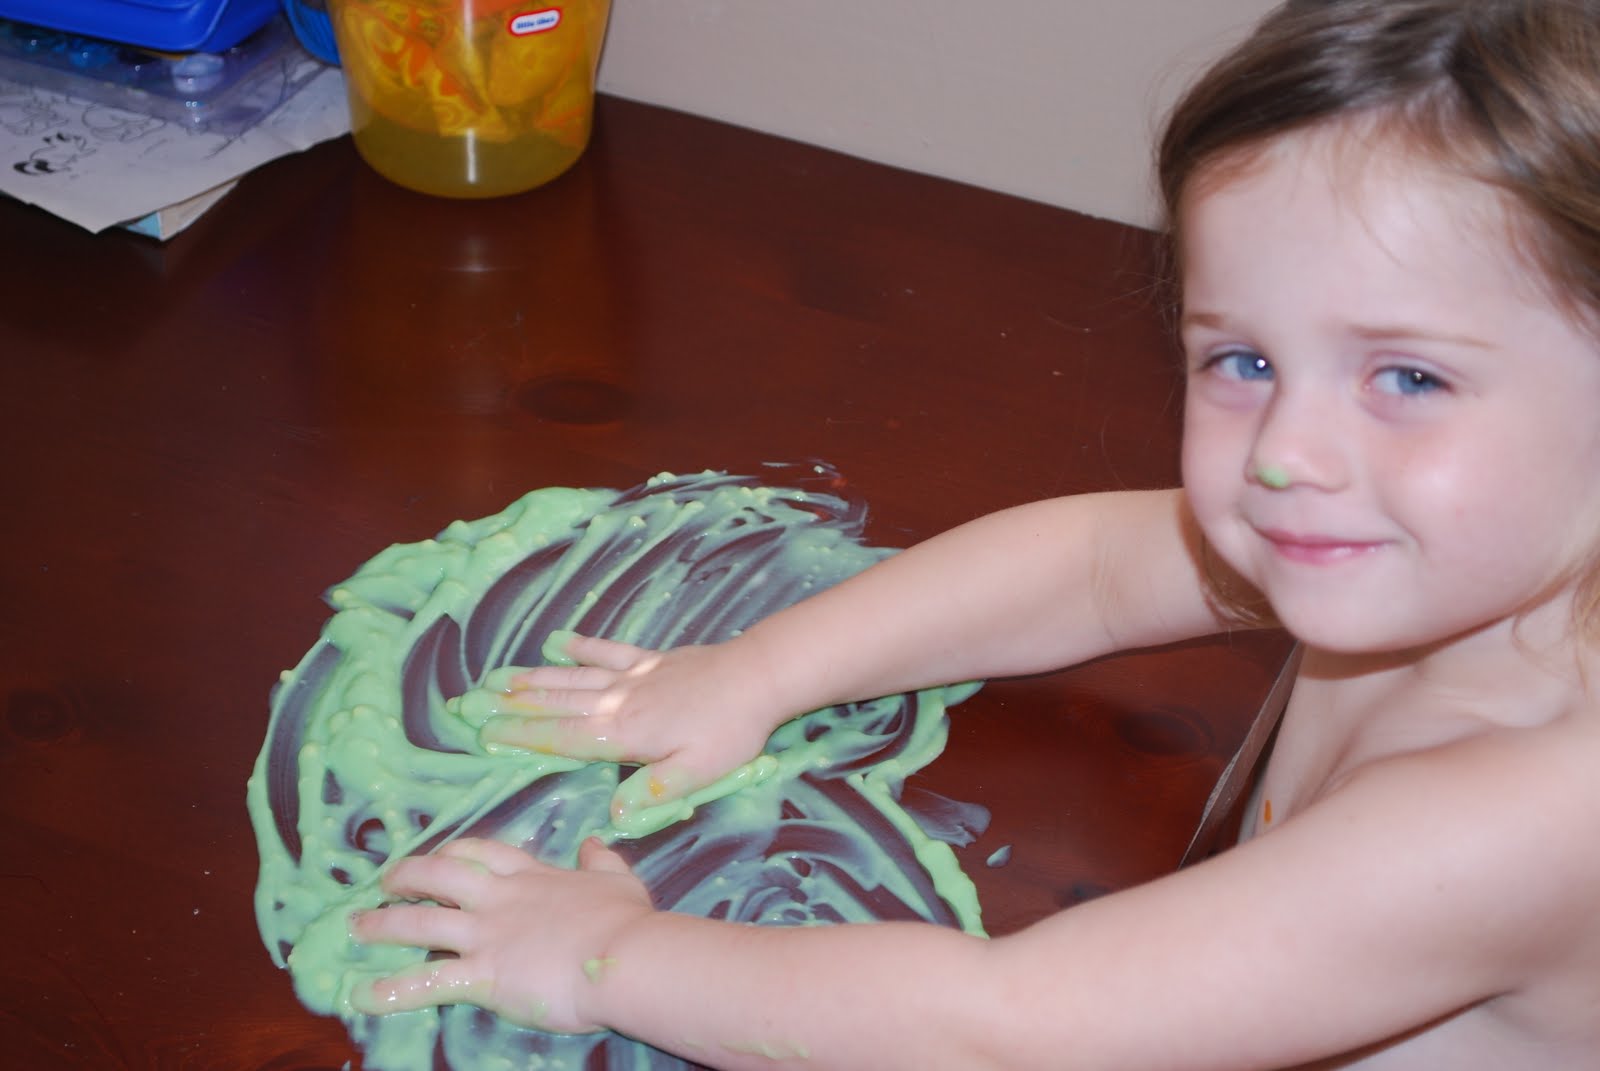
First we colored our pumpkins...

Clara really enjoyed trying to eat the crayons!
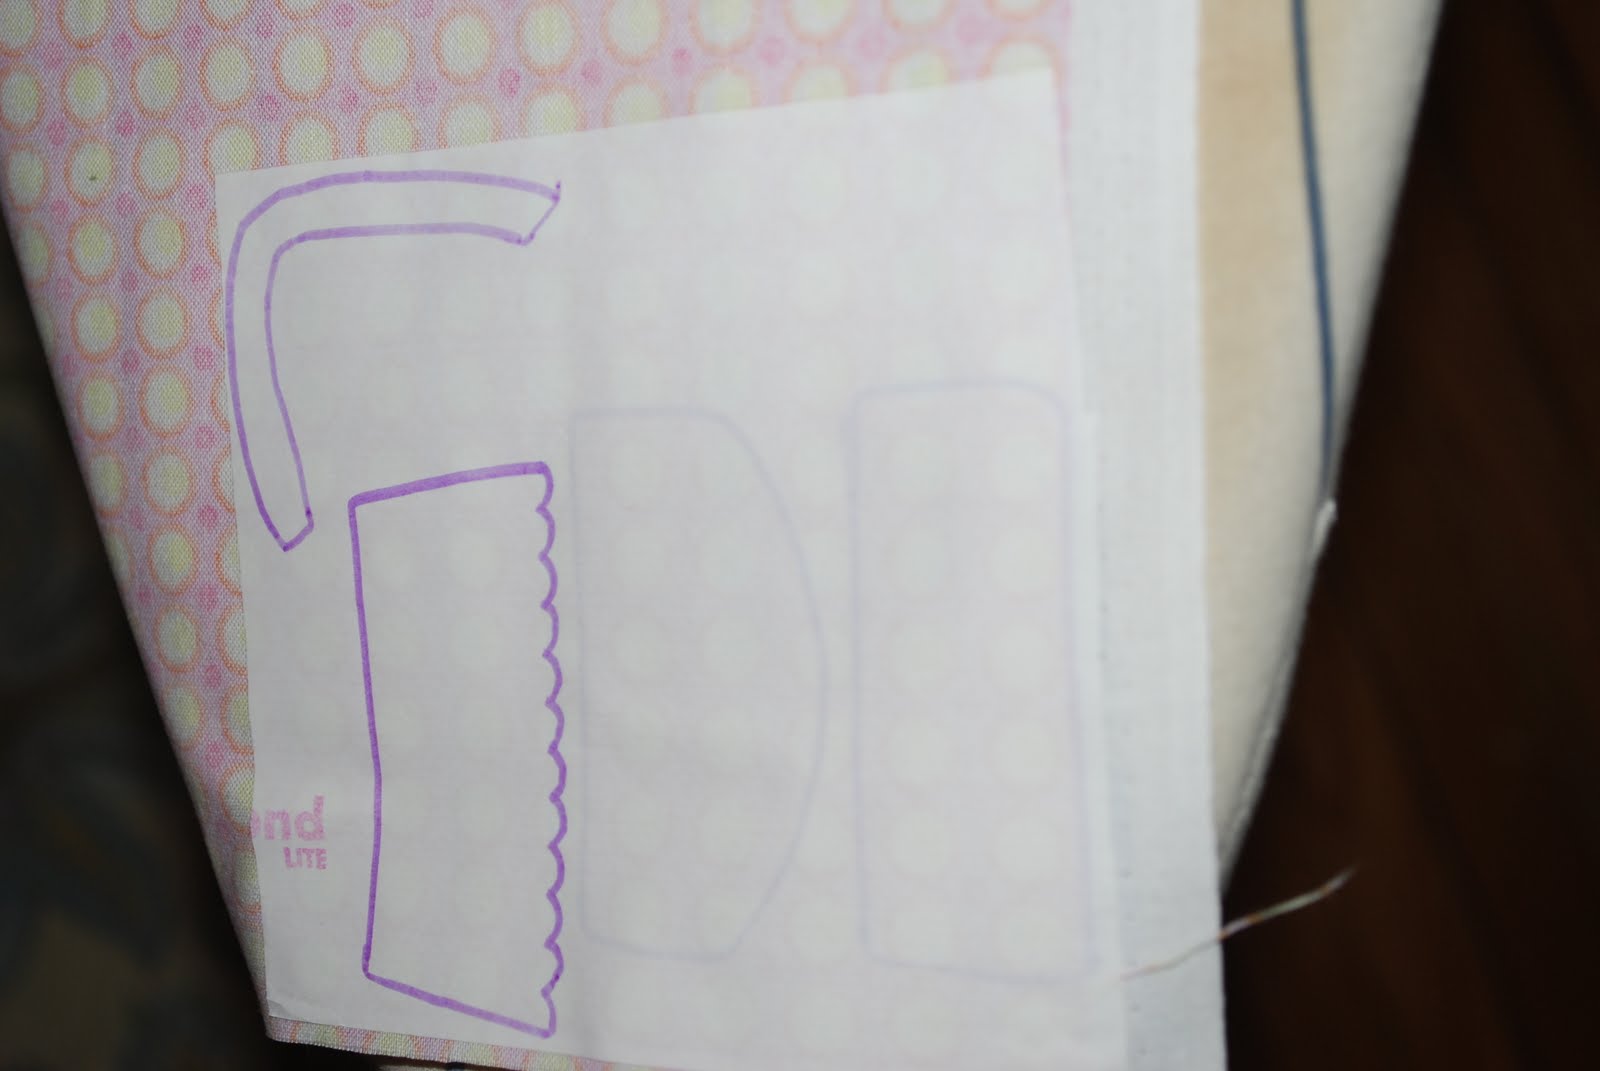
Then we cut them out and glued them to our folder.
For the Pumpkin Counting game we are going to count seeds and place the correct number of seeds on the corresponding number.
For the Five Little Pumpkins poem I just glued the poem to the front of the folder. We are going to laminate the other set of 5 pumpkins separately. This will allow us to be able to play with them when the poem is read.
We used pocket folders because that's what I had on hand. I like them because you can stick things inside them for storage(and they don't slide out), but they do not laminate well. And I like to laminate them so they are durable. You can also use regular manila file folders which work better with the laminate.

Here they are laminated...
I ended up tearing the lamination off the counting game. It had bubbled up in a couple spots.
Here is Carson at work...
When you are finished you can put the seeds in a little baggie and store them inside the folder.
For the Pumpkin Poem we used this removable putty to put on the back of the laminated pumpkins so we could stick them to the wall for our poem.
Here she is acting out the poem. Every time I read about each little pumpkin she took it off the wall. Then when we were finished she put them back in number order.
Happy Counting!

Sunday, June 27, 2010

Who ever said you can't...

play with your food!

We had a little fun while daddy was away this weekend. One of the things we did is make a huge mess! We used these ingredients...
Side note: I bought the cook & serve instead of the instant. I had to cook it on the stove and then let it cool. The instant pudding would have been easier. I still would have had to stick it in the fridge for a bit, but would have been able to skip the stove top step.

to make this...

and do this...


The girls had a blast finger painting and eating it too!


Carson is learning how to spell her name and this was a fun way to practice. We also had a mini lesson on primary and secondary colors. We mixed blue and yellow food coloring to get the green color of the pudding paint.
I had to throw both girls into the tub afterwards. They were a wet, sticky mess, but sure did smell good!

Happy Puddin' Painting!

Monday, April 5, 2010

Wet Bathing Suit Bag with Download: A Tutorial


Warm weather is here and so is bathing suit season! So...these wet bathing suit bags are a must have to keep your dry duds from getting wet! Four years ago I gave my bridesmaids one similar to these as part of their gifts for being in our wedding. They recently popped back into my head after Carson started taking swim lessons a few weeks ago. It sure would be nice to have a little waterproof bag in which to contain a soaking wet suit. I made a few different ones. Ones for boys and ones for girls. You can make it and make it your own!

Materials: Nylon waterproof fabric, a fabric of your choice OR you can use Amy Butler's laminate fabric (it's machine washable!), 9 inch zipper, thread, sewing machine, rotary board, ruler and cutter

Optional: heat and bond adhesive, swim suit template, disappearing ink pen, iron, fabric paint, paint brush, freezer paper

- cut 4 pieces 10 x 8 inches (2 waterproof fabric, 2 fabric of choice)

-If you choose to put a swim suit on your bag you are going to do it now.
-follow directions on the heat and bond to adhere it to your fabric of choice. I chose a yellow polka-dot fabric...yellow polka-dot bikini!

-trace the swim suit on the back of the heat and bond with the disappearing ink pen.

-cut it out, peel off the back and place it onto the fabric where you want it.

-iron

-If you want to do letter applique (good tutorial HERE) or freezer paper stenciling (good tutorial HERE) to personalize your bag you will do that now too. I waited until after to do the stenciling. It would be easier to do it at this point.

- If you chose to do applique stitch into place.

-You a can use fray check around the edges to minimize fraying.

-Next, you will take one piece of the water proof fabric and one piece of the fabric of your choice. Get your zipper ready. You may want to use a zipper foot at this time. You are going to sandwich the zipper between the two pieces of fabric. Place your fabric of choice right side up, then the zipper face down then the waterproof fabric and sew.

-You are going to do the same thing with the other two pieces on the other side of the zipper.

-Press the seams.

-Now for the wrist strap...Cut a strip of fabric 2 x 8 inches. Fold it in half and iron. Then open it up and fold each side into the middle and iron. Now fold in half again and iron.

-Sew down the side to close it up.
-Fold the wrist strap in half and place it inside the bag underneath the zipper, raw edges facing out.

-Serge or stitch around the outer edge of the bag to close it up. If you stitch it you can finish it with a zig zag stitch.

-Turn the bag inside right side out!

Finished! Use an object to poke the corners out. I used my scissors, but that's probably not the best thing to use:)

SIDE NOTE
On the laminate bag I still used the Heat and Bond on the polka dot fabric, but I did NOT iron it onto the laminate. I thought it would make it a bit heavier and easier to stitch onto the bag. I used a few pins to hold it in place and it was easy to sew onto the bag. I have never tried to iron it, but the ladies that work at the store where I get my fabric said you CANNOT iron it.

Another Option!
Add a snap...instead of sewing both sides of the strap into the bag just sew one side. Then add a snap to the bag and strap. I'm less likely to loose the swim suit bag this way:)

Wednesday, March 24, 2010

Bunnies: Freezer Paper Stencil and Applique with download


We are gearing up for Easter. We made bunny shirts with a freezer paper stenciling and applique! If you want to make one too just follow these simple directions! It doesn't take long and your little bunnies will be Hippity Hopping to find their eggs!

This is what I did.
-Made a template using power point shapes. There is a big bunny and a little bunny.
-Cut out the bunny and ears.

-Tape on the ears. I couldn't find a "tool" on PP that allowed me to slant the ears so I just cut them out and taped them on the way I wanted.

-Tape the bunny onto freezer paper to hold it in place. Use an exacto knife to cut it out. Cut out the little tail too.

-Place the outline of the bunny onto the shirt and iron it on!

-Paint(your little helper will have fun helping too).

-Let it dry and peel off the stencil. You will need to let it dry for 24 hours and press with the iron. You can wash after 72 hours.

Here is your little bunny T!

Your little bunny will be so excited to wear it!

They will Hop, Hop, Hop...

right down the bunny trail.

-While other bunnies just want to relax.

Now for the applique

You need...pellon heat and bond, a piece of fabric, the bunny template, thread, sewing machine,
pins to hold template in place and scissors

-Place the "bumpy" side of the heat and bond to the wrong side of the fabric.

-Pin in desired spot. I wanted both pink and orange colors in my bunnies.

-Cut the bunnies out. I din't cut out the tail. I just left it as is. A different fabric may be cute for the tail.

-Peel off the back of the interfacing and iron onto your shirt.

-Stitch around the bunny and you're done!


I would love to see your version!
Email me at sarahmlboyd (at) yahoo (dot) com


Related Posts with Thumbnails