Showing posts with label refurbishing. Show all posts

Thursday, August 19, 2010

Frugal Friday


So excited to post my Frugal Friday this week! I know I have made many of these since acquiring this pattern, but I found the most adorable knit tanks at Plato's Closet. And I thought they would make fabulous twirl skirts. If you have never heard of Plato's Closet it's a more "upscale" thrift store, if you will. They buy and sell gently used brand name clothing. I took my first trip there the other day. I found these...
and although they weren't what I would call a great bargain I had to have them. I loved the Muppet's Party Animal T(Carson asked while Elmo was mad), guitars tank and argyle tank. All together I spent $20, but before you tell me I got ripped off with my purchase of gently used clothing...I made TWO skirts! Carson's is a size 3/4 and Clara's is a size 12-18 months. It is still a bit big, but she will be able to wear it for a while and I think will be great when she starts walking.

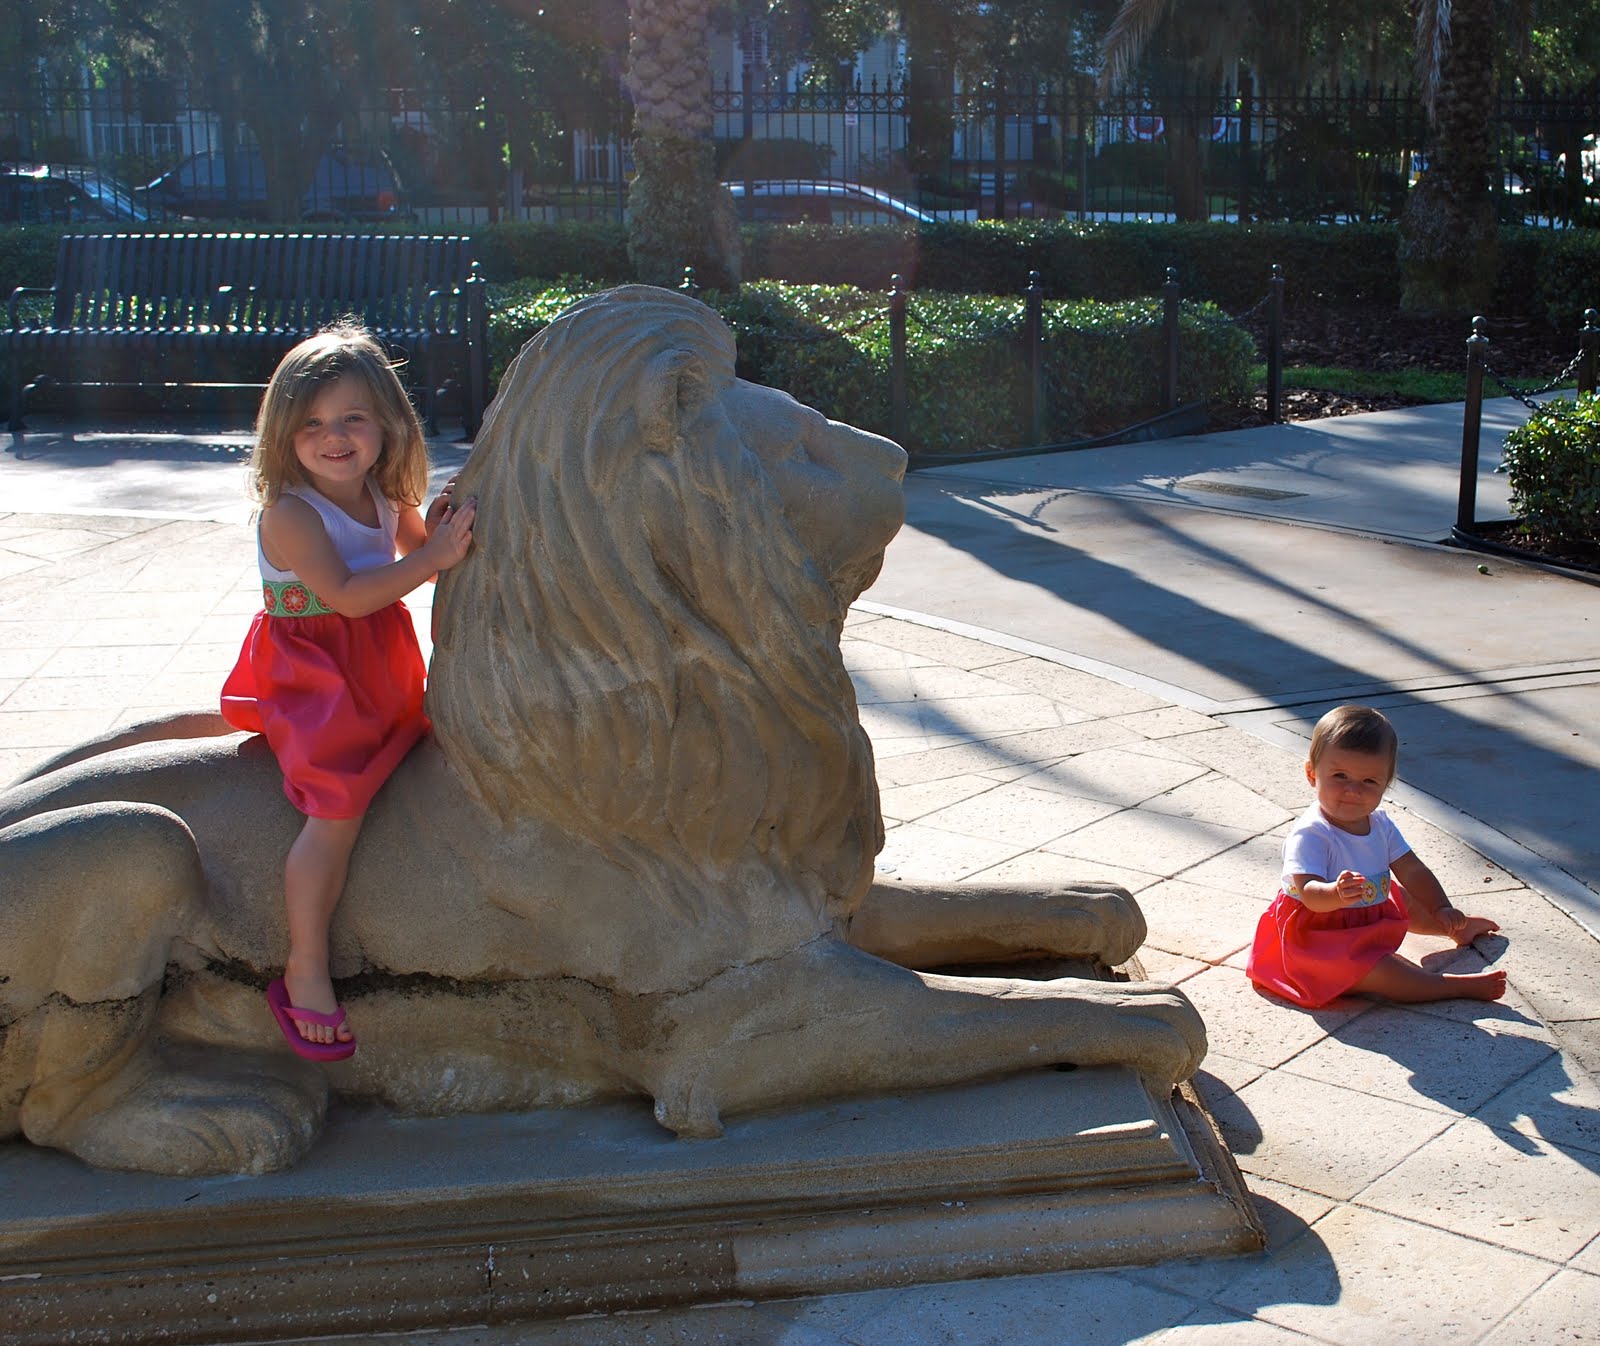
We were inspired by our "new" clothes and formed our own band!

Carson is really into singing and performing lately so I thought this ensemble (guitars and party animal)would be perfect for her. And Clara loves and wants whatever her big sister has.
Like this...
and this...Look at that pout face!
It's really starting to become a battle in our house. I'm Sure it's just the beginning!

Carson gave a peace offering. She has quickly learned that you can make Clara happy by giving her something else to distract her from what she wants.
They "kissed" (or high five-d)and made up.
And continued to Rock On!


What have you been up to? Link up to our Fabulous Friday Follow and share your blog. Have a great weekend! Thanks for stopping by!

Friday, August 13, 2010

Frugal Friday


Happy Friday everyone! I have really gotten into upcycling clothes lately. There is something very satisfying about taking an old or unwanted piece of clothing and turning it into something "new" and useful. You know the saying, "One person's trash is an other person's treasure." So, each Friday I am going to post pictures of a thrift store find refashion. I will be calling it "Frugal Friday." Here are pictures of my very first Frugal Friday thrift store refashion!

I found this orange and white gingham ladies shirt for $2. It's simple and I actually would have liked it for myself, but it was too small for me.

So I used one of Carson's dresses and made a pattern.

I made the front of the shirt the back of her dress and added 4 button holes and 4 buttons.

I also made a pair of leggings to match. I used Lil Blue Boo's Lil Leggings pattern. I embellished the bottom of the leggings with scrap pieces from the shirt.

I thought about embellishing the dress, but couldn't decide what to do with it. I kinda like the simplicity of it. It reminds me of Orange Cream Soda...

Or creamsicle...mmm

That old, unwanted shirt made the perfect outfit for just hanging out..

and watching the people pass by.

Here are some links to inspiring blogs with refashion ideas, tutorials and patterns!

I would love to see pictures of your refashions or whatever else you are up to. Link up toFabulous Friday Follow.

Have a wonderful weekend! See you later!

Thursday, June 24, 2010

Upcycled Belted dress


I was going through my closet the other day and cleaned out my belts. I can't remember the last time I have worn this belt. If I can't remember then I suppose I don't need it:) But I thought it would look really cute on a little girl's dress! So I got to work!

I separated the two pieces with my seam ripper.

I got this fabric for 99 cents in the remnant fabric box. I didn't know what I was going to use it for at the time, but I thought it was a pretty good deal and liked the color.
I cut 16 inches in length for Carson's skirt and 40 inches in width.

I cut the tank 3 inches below the arm hole and sewed it on just like I did for the ruffled tank dress. Then I stretch it out a bit, pinned and sewed the belt. I stretched it out to allow for some room to get on and off because the belt has no stretch to it.

Here it is! I love the colors. I of course had to make Clara one too with the other side of the belt.

I definitely like the tank top look better, but a onesie was all I had on hand in Clara's size.

Here they are at one of my favorite parks in Tampa. These lions are actually in the middle of fountains. I was praying the whole time that the fountains wouldn't go on while we were taking pictures;) That would have given the girls quite a morning wake-up!
I hope everyone enjoys their Thursday!

Tuesday, June 8, 2010

Placemat Tote: A Tutorial


We are in summer vacation mode. We are leaving next week for vacation. And I have been thinking of some things that would be nice to take along with us. We have our summer vacation dresses. I have been shirring like crazy! I will share some other things I have made later this week. If you you haven't checked out this pattern from Made you will have to before the summer is over!

I was also thinking Carson needed a little tote to put her belongings in for the pool and beach. She is becoming more independent (if that's possible) and wanted a "diaper bag" like mommy. It's so sad when your diaper bag becomes your purse. Mine has, luckily I love my diaper bag! Anyway, I was cleaning out the kitchen and came across some placemats I just had to have 5 years ago. I actually still really like them, but never use them. So, the little light bulb came on in my head and the placemat tote was born. It's super simple and chances are you have it lying around your house too!

Materials:
Placemat
coordinating fabric or cloth napkin
scissors
sewing machine/serger
cutting board
ruler
rotary cutter

Fold your placemat right sides together. Sew or serge down both sides.

Press and turn right side out.

Cut four 2x18 inch strips. These will be your handles.

Now you are going take 2 of your straps and to serge wrong sides together. Repeat with the other two.
If you do not have a serger you will still take your two strips, but will place them right sides together and sew down one side across and up the other side. Rae has an easy tutorial for doing this here! Press.

Take your handles and pin them in place. I pinned them 3 inches from the outside of the tote.

Sew a box stitch.

Now I thought I was finished, but my 2 year old wanted to know where the pocket was where she could put her coins.

I don't know why I didn't think of that in the first place! So I cut a 5 x5 square. I used the edge of the napkin because it already had a hem on two sides. I hemmed the other two sides. Pinned and sewed it into place! Yeah! A pocket for the coins or sunglasses!

And there is a place for your coins!

Now what might a 2 year old place in her tote? What other than every pair princess shoes she owns and a pair of sunslasses (sunglasses)!

If you have any questions let me know! Happy sewing!

Linking up to these fabulous bogs!


BWS tips button


Related Posts with Thumbnails