


Warm weather is here and so is bathing suit season! So...these wet bathing suit bags are a must have to keep your dry duds from getting wet! Four years ago I gave my bridesmaids one similar to these as part of their gifts for being in our wedding. They recently popped back into my head after Carson started taking swim lessons a few weeks ago. It sure would be nice to have a little waterproof bag in which to contain a soaking wet suit. I made a few different ones. Ones for boys and ones for girls. You can make it and make it your own!
Materials: Nylon waterproof fabric, a fabric of your choice OR you can use Amy Butler's laminate fabric (it's machine washable!), 9 inch zipper, thread, sewing machine, rotary board, ruler and cutter
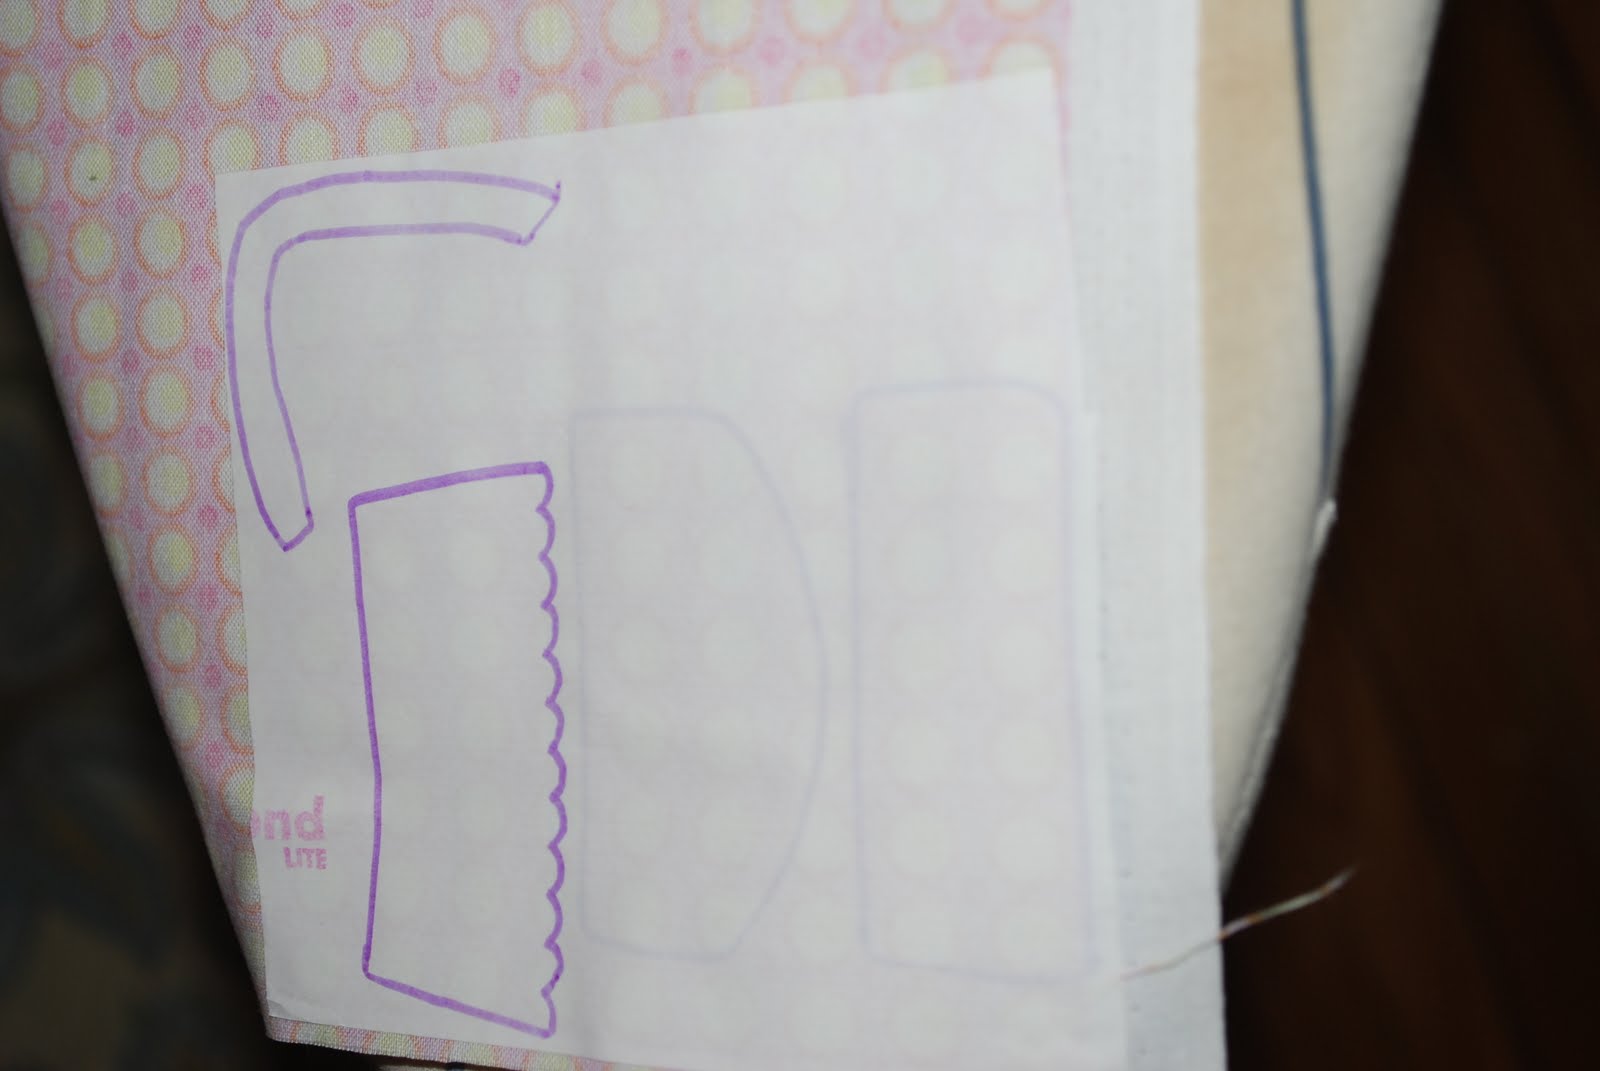
Optional: heat and bond adhesive, swim suit template, disappearing ink pen, iron, fabric paint, paint brush, freezer paper
- cut 4 pieces 10 x 8 inches (2 waterproof fabric, 2 fabric of choice)

-If you choose to put a swim suit on your bag you are going to do it now.
-follow directions on the heat and bond to adhere it to your fabric of choice. I chose a yellow polka-dot fabric...yellow polka-dot bikini!


-iron

-If you want to do letter applique (good tutorial HERE) or freezer paper stenciling (good tutorial HERE) to personalize your bag you will do that now too. I waited until after to do the stenciling. It would be easier to do it at this point.


-You a can use fray check around the edges to minimize fraying.

-Next, you will take one piece of the water proof fabric and one piece of the fabric of your choice. Get your zipper ready. You may want to use a zipper foot at this time. You are going to sandwich the zipper between the two pieces of fabric. Place your fabric of choice right side up, then the zipper face down then the waterproof fabric and sew.


-You are going to do the same thing with the other two pieces on the other side of the zipper.

-Now for the wrist strap...Cut a strip of fabric 2 x 8 inches. Fold it in half and iron. Then open it up and fold each side into the middle and iron. Now fold in half again and iron.


-Fold the wrist strap in half and place it inside the bag underneath the zipper, raw edges facing out.
-Serge or stitch around the outer edge of the bag to close it up. If you stitch it you can finish it with a zig zag stitch.

-Turn the bag inside right side out!

Finished! Use an object to poke the corners out. I used my scissors, but that's probably not the best thing to use:)

SIDE NOTE
On the laminate bag I still used the Heat and Bond on the polka dot fabric, but I did NOT iron it onto the laminate. I thought it would make it a bit heavier and easier to stitch onto the bag. I used a few pins to hold it in place and it was easy to sew onto the bag. I have never tried to iron it, but the ladies that work at the store where I get my fabric said you CANNOT iron it.
Another Option!
Add a snap...instead of sewing both sides of the strap into the bag just sew one side. Then add a snap to the bag and strap. I'm less likely to loose the swim suit bag this way:)


4 comments:
I love this!! Such a good idea with summer coming! :)
I wonder if you could use a vinyl tablecloth for this? Just hang it up to dry everytime. hmmm....
Great idea!
Very cute! I will be making one of these for sure. Thank you for sharing!
http://littlelearnerslounge.blogspot.com/
I featured you this week on Thursday's Treasures! Go ahead and grab a button! Thank you so much for sharing! Don't forget to come back this week too!
Post a Comment