While planning our intimate gathering I was trying to decide what to do for take home gifts. Upon a trip to Old Navy I found flip flops...for 97 cents! I couldn't pass that up. I know fall/winter is right around the corner, but we live in Florida and pretty much wear flip flops year round. So, I bought them for the girls. Now what to do with them? I embellished these last spring, but wanted something a little more juvenile. I saw some covered button book marks in a Hallmark the other week. They were adorable and would look just as cute on a pair of flip flops! So here they are!


They were really quick and easy and if you don't have an embroidery machine they would look just as cute with a bright, colorful fabric choice. I used the same way to apply the button as in this tutorial (DMC thread and hot glue gun).
If you have never used a covered button before it's really easy. Here is a quick demonstration...
There are two choices for covered buttons...the kit and the refill. If you have never purchased the kit you will want to get that first. It is a little more expensive, but comes with the necessary parts you need to assemble the button. Here are the supplies. I used a little spray adhesive on the fabric because I wanted the initial to be centered and the adhesive kept the fabric from slipping. I used 7/8" covered buttons. I purchased the kit for about $3.25 and the 2 packs of refills for $2.25. There are 4 buttons in each of these packs. All together the flip flops were less than $2.50!

I drew circles. The kit comes with a template on the back. I couldn't find mine so I just guessed.
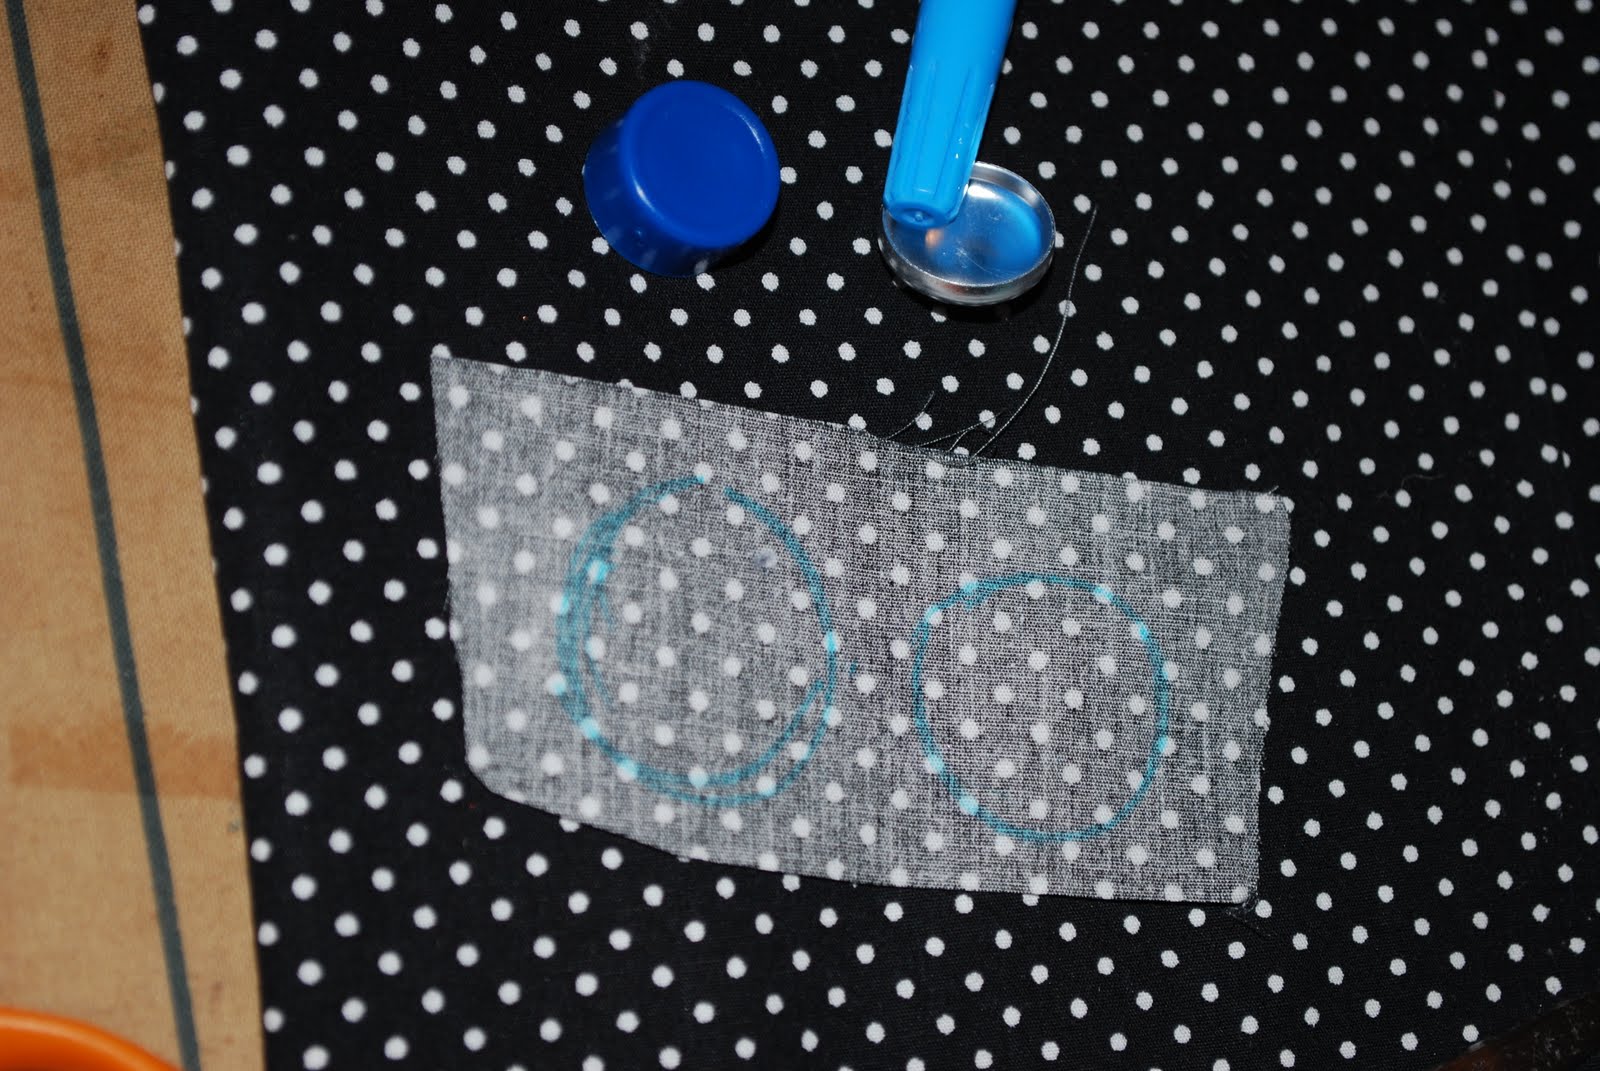
Cut your circles out.

Sandwich the fabric between the white, rubber piece and the top of the button.

Tuck the excess fabric inside the top of the button.

Use the plastic, blue piece to push the back of the button into the top of the button.

All finished!

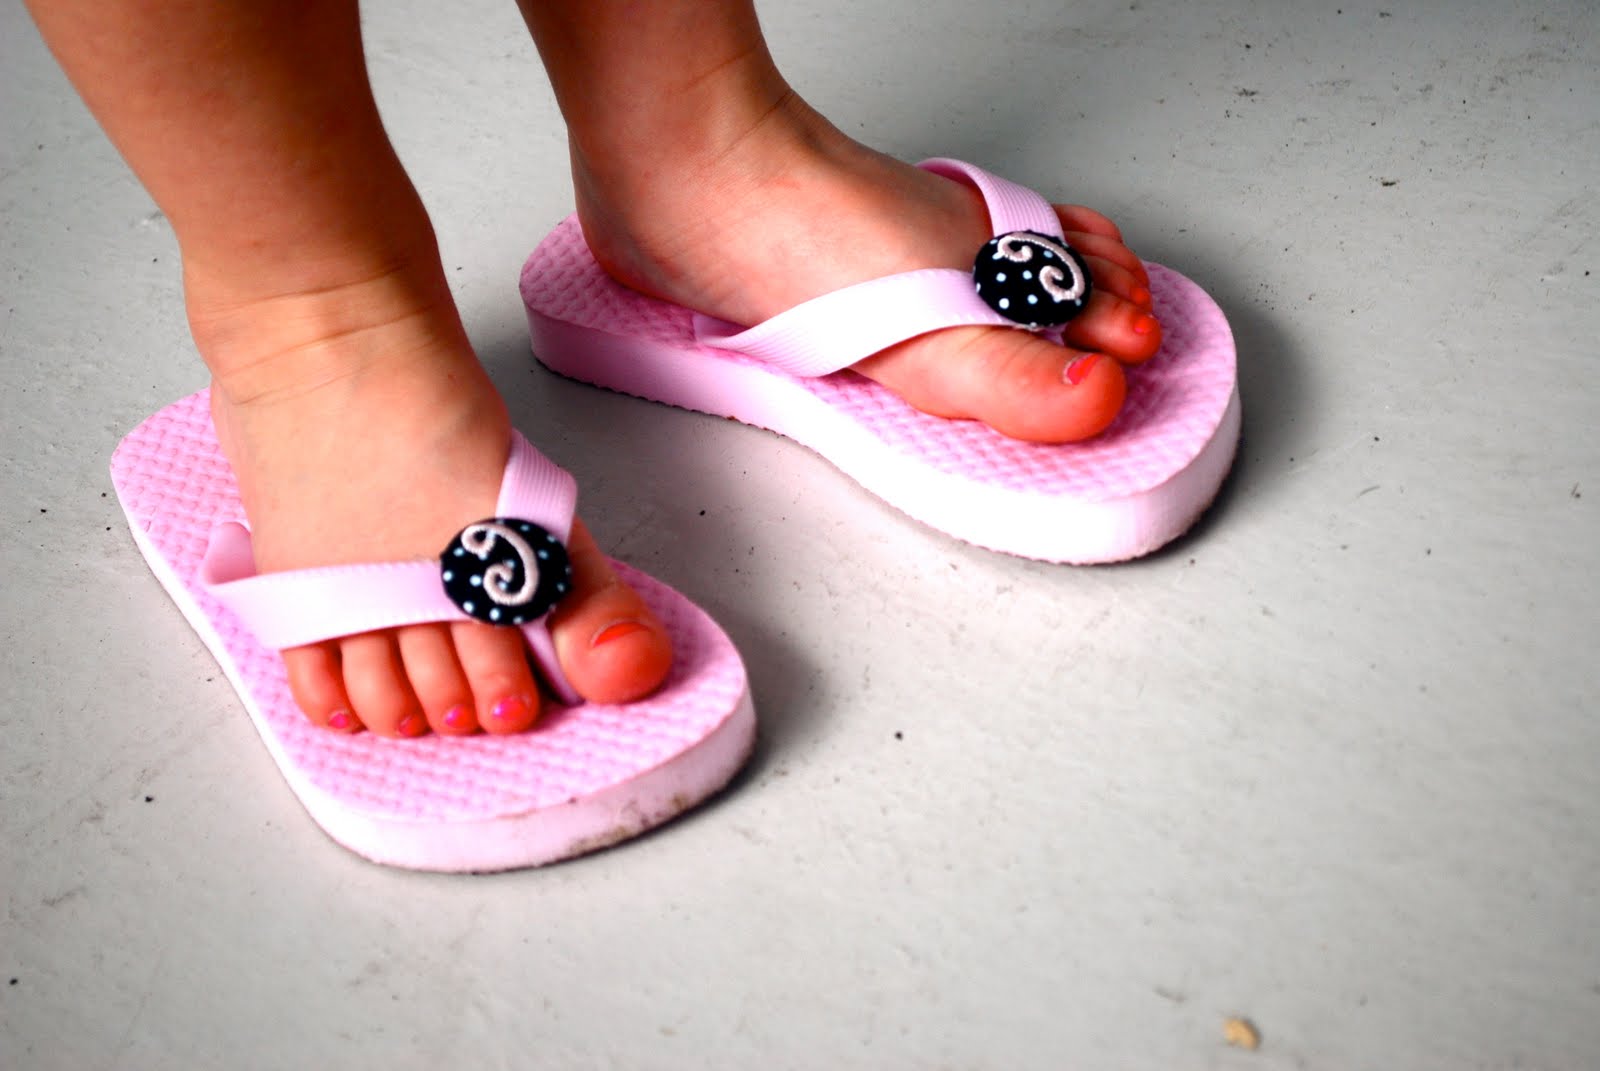
Follow this tutorial to assemble your covered button flip flops!
And you will have pretty, happy feet!


Now what to do for the boys?


2 comments:
Adorable! Easier to find with their initials on them too.
How cute are they? Brilliant idea
Post a Comment